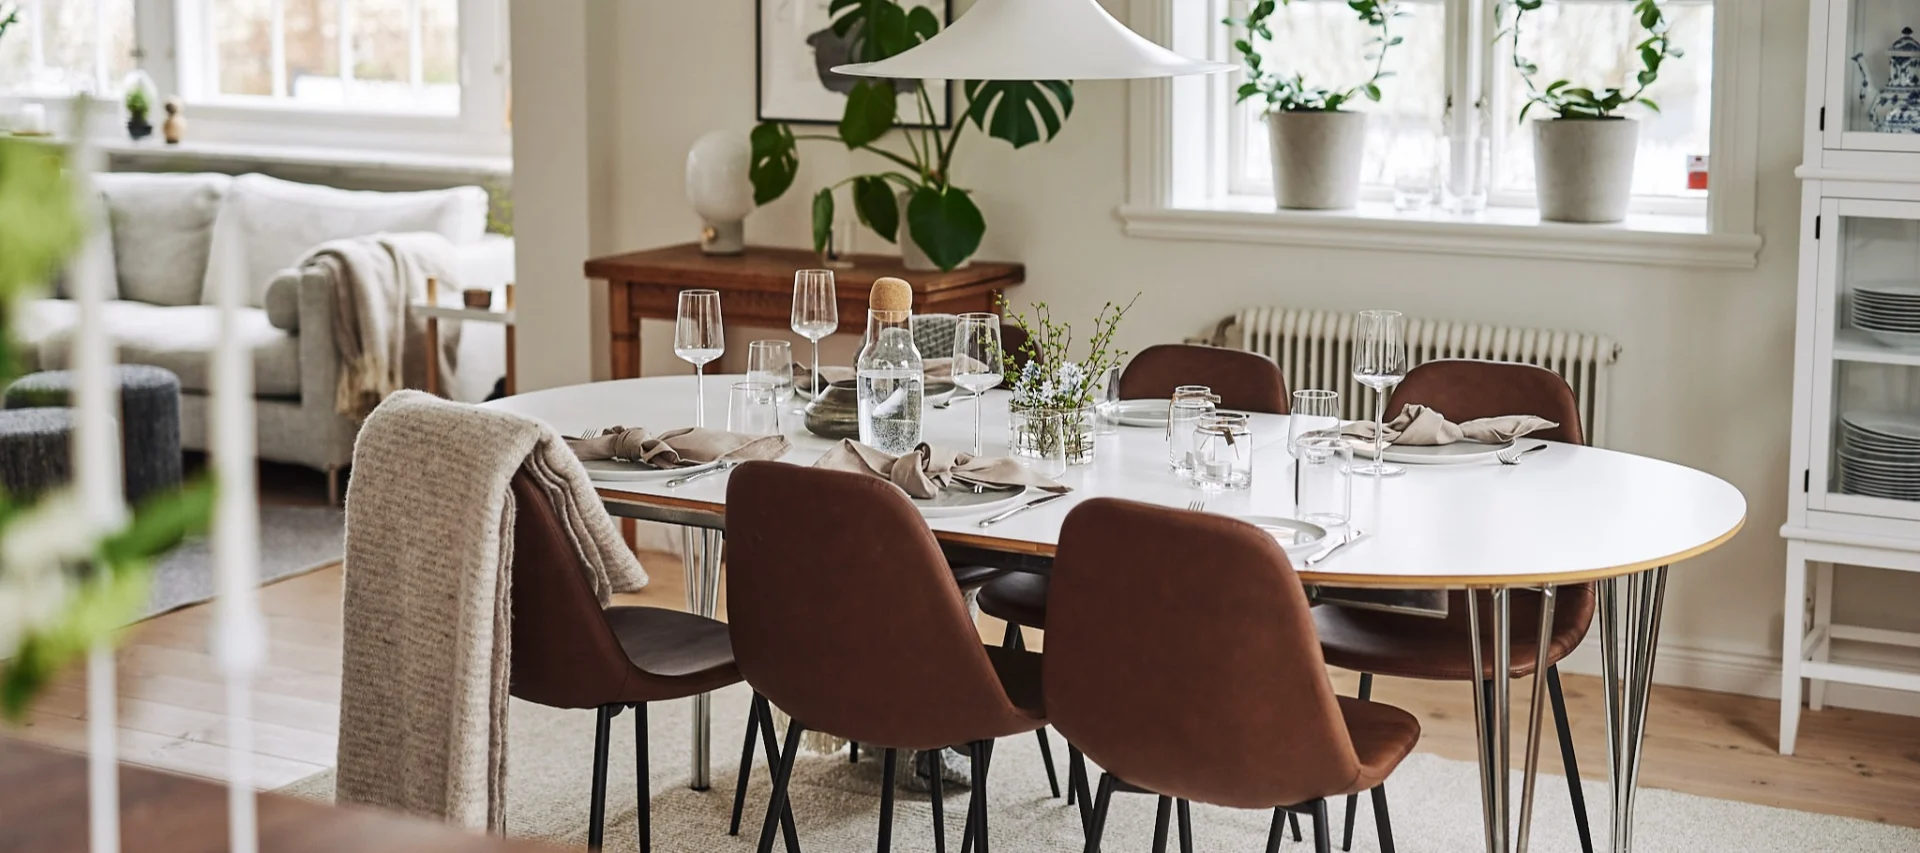
Scandinavian Style
This style comes is known for its simplicity, functionality within light and airy spaces. This style falls within the Contemporary Design Styles category. It is sometimes associated with the mid-century modern style but differs because Scandinavian interiors feature bright white and airy rooms.
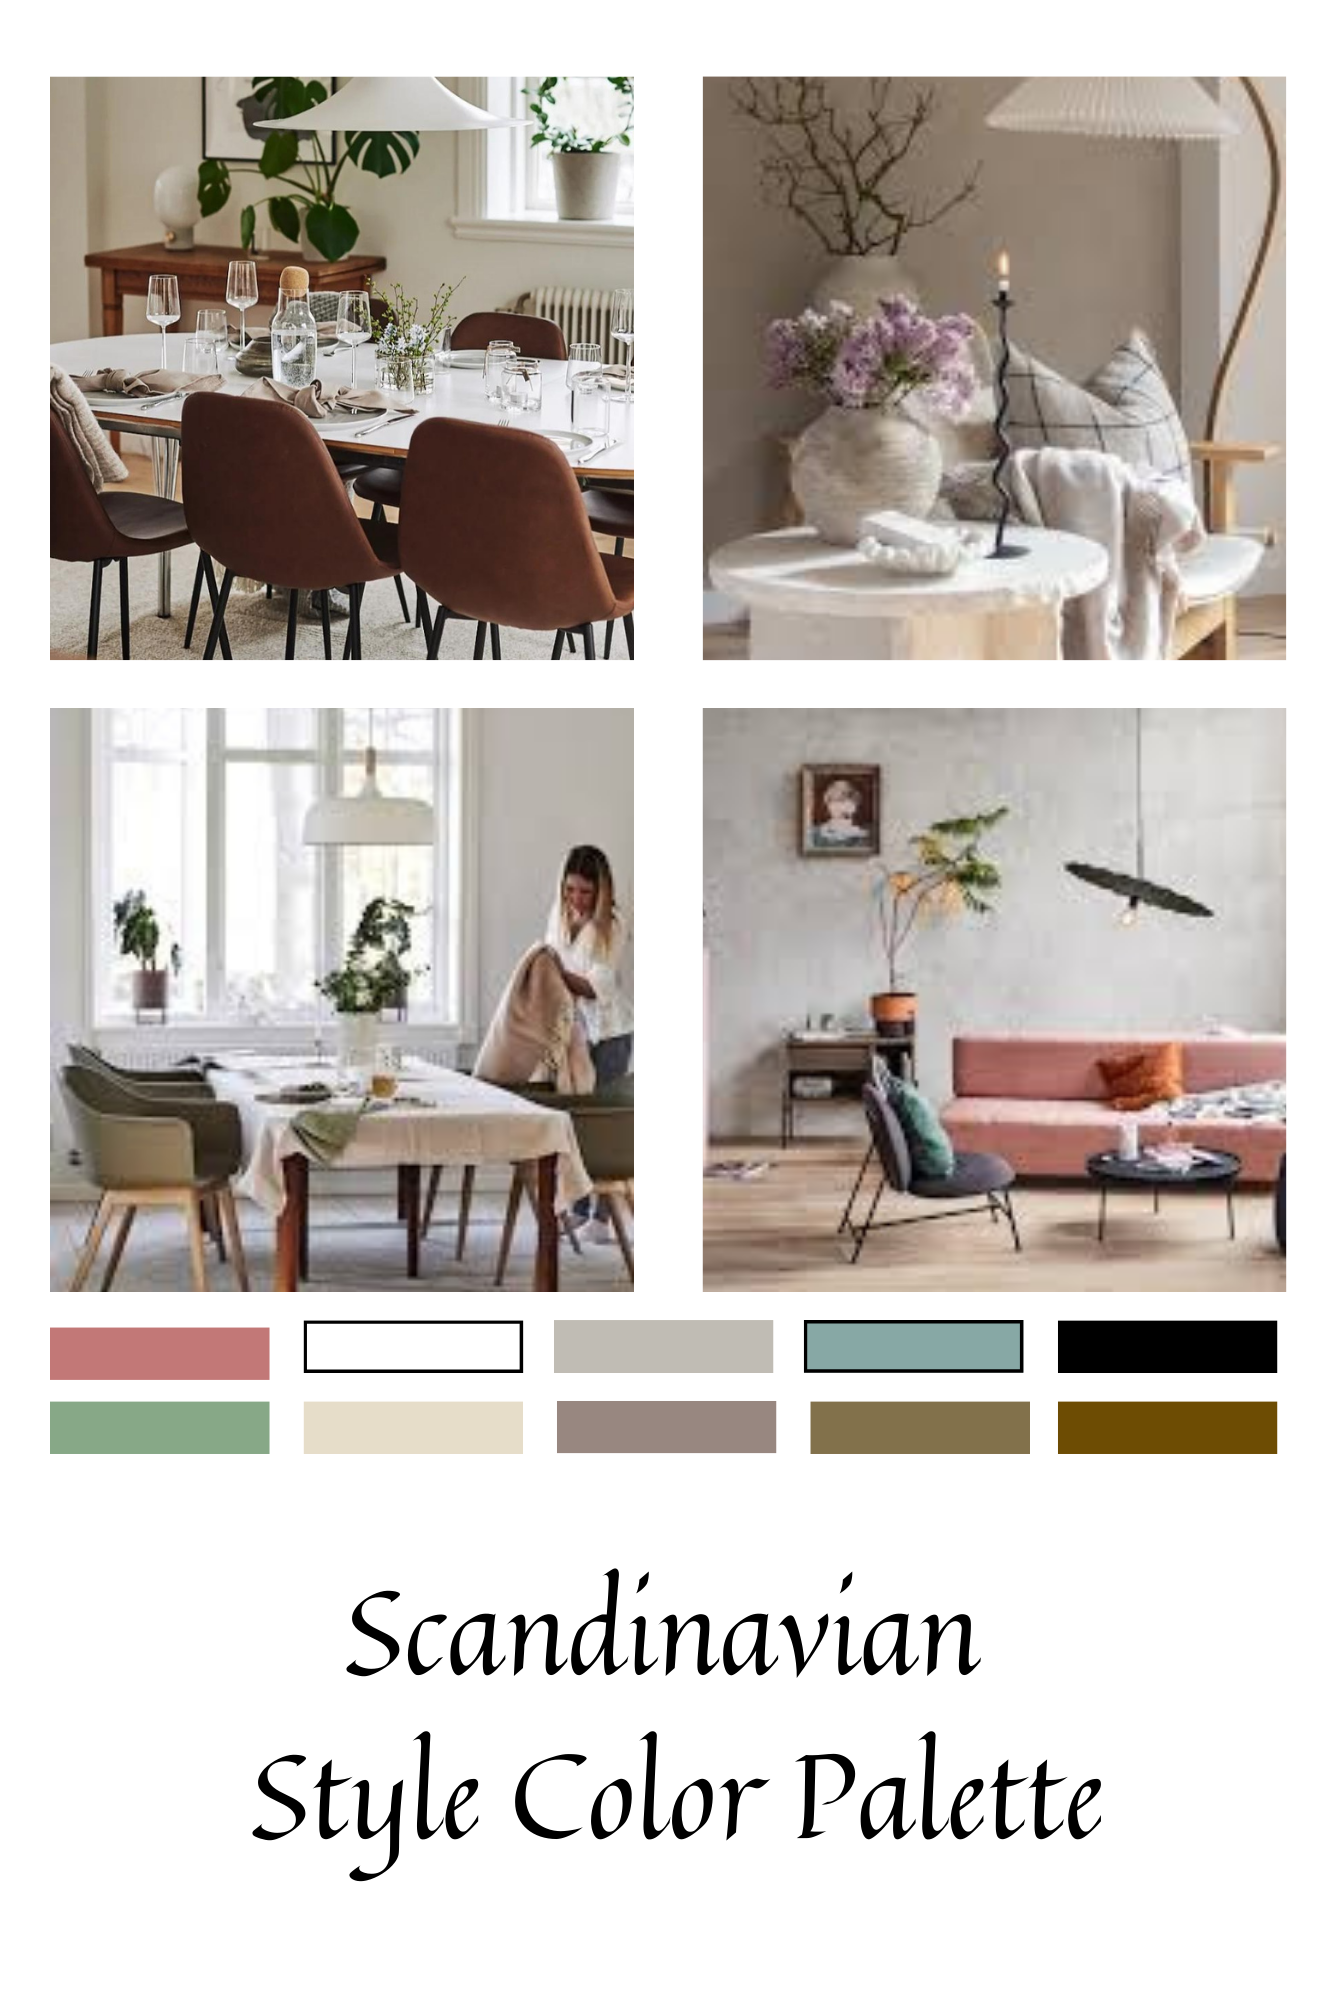
Scandinavian Style Color Palette
Predominantly neutral color palette
- whites and shades of gray
- Light and soft and muted colors are used
- Predominantly white with neutrals and earth tones
- accents of black and muted pastels or earthy hues
- Keep to 2-3 colors for color palette
Scandinavian Style Furniture
- functional and ergonomic design
- focus on comfort and usability
- Multi-functional furniture
- Light woods like bamboo, beech, rattan, maple and pine
- splayed, straight and tall or hairpin legs
- track arms or square arms
- spindle back chairs
- open shelving
Scandinavian Style Architecture
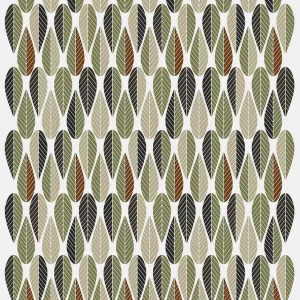
Scandinavian Style Patterns and Prints
- intricate patterned prints
- solid colors are predominant
Scandinavian Style Forms and Lines
- clean and simple
- organic and curved
- clean lines
- geometric simple shapes
Scandinavian Style Texture, Materials and Finishes
- Rattan and bamboo
- light woods
- heavy and soft textures like sheepskin rugs and thick yarns
- hygge (pronounced hoo-guh)
Scandinavian Style Fabrics
- linen
- cotton
- wool
- knits
- faux fur and sheepskin
Scandinavian Style Window Treatments
This style loves the light from big windows therefore the treatments are minimal, bare or simple or sheer drapes
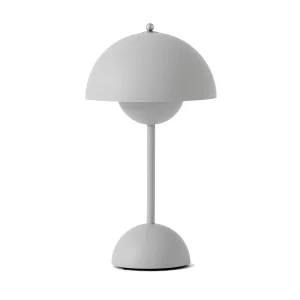
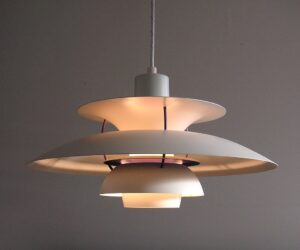
Scandinavian Style Lighting
Lighting in this style aims to create a balance of natural light and functionality keeping a cozy atmoshphere
- functional simplicity
- copper, brass, white, black simple shapes
- light bulbs in the 2700-3000K spectrum for comfort
- white shades
- seagrass pendants or shades
- black pendant light
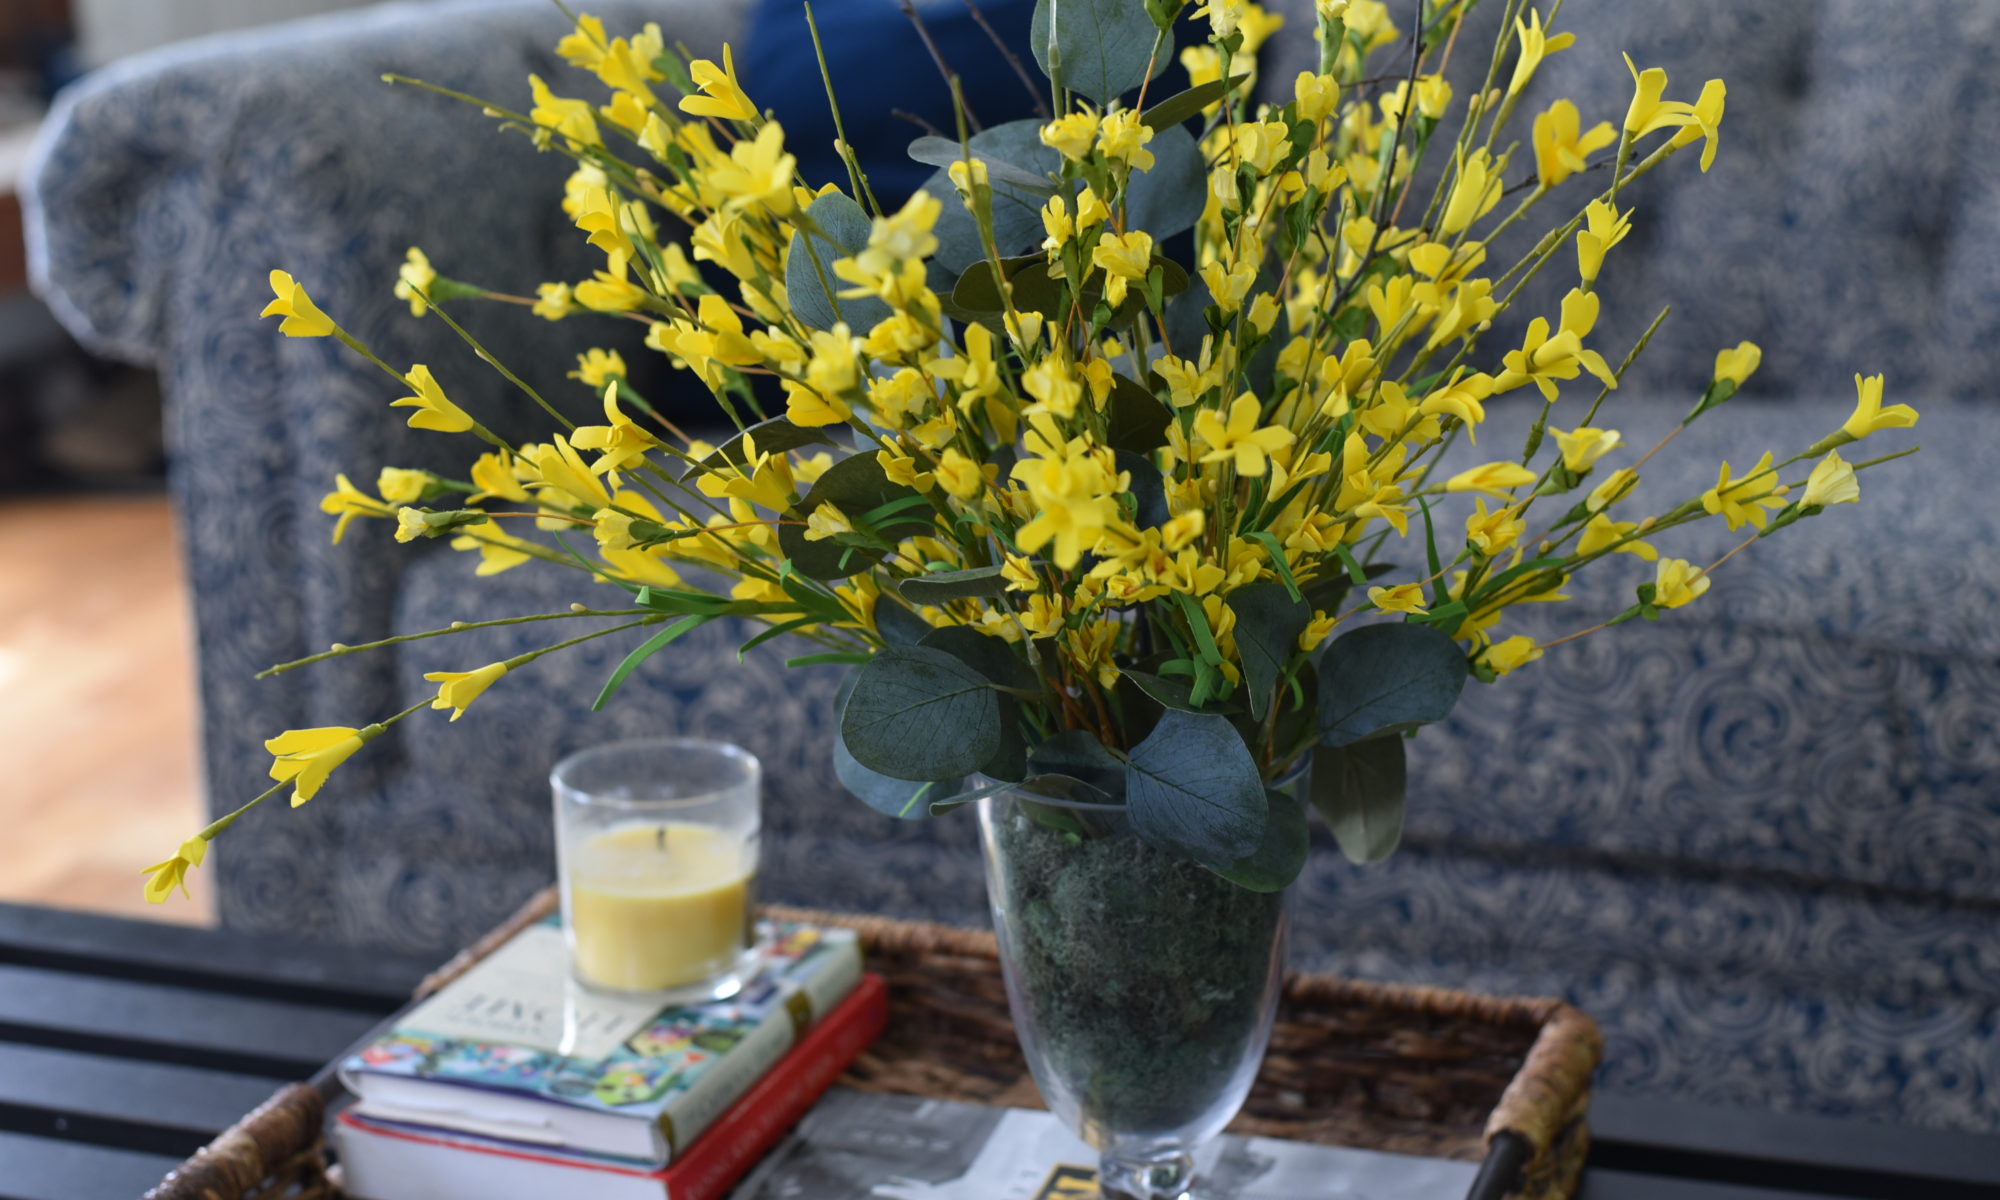
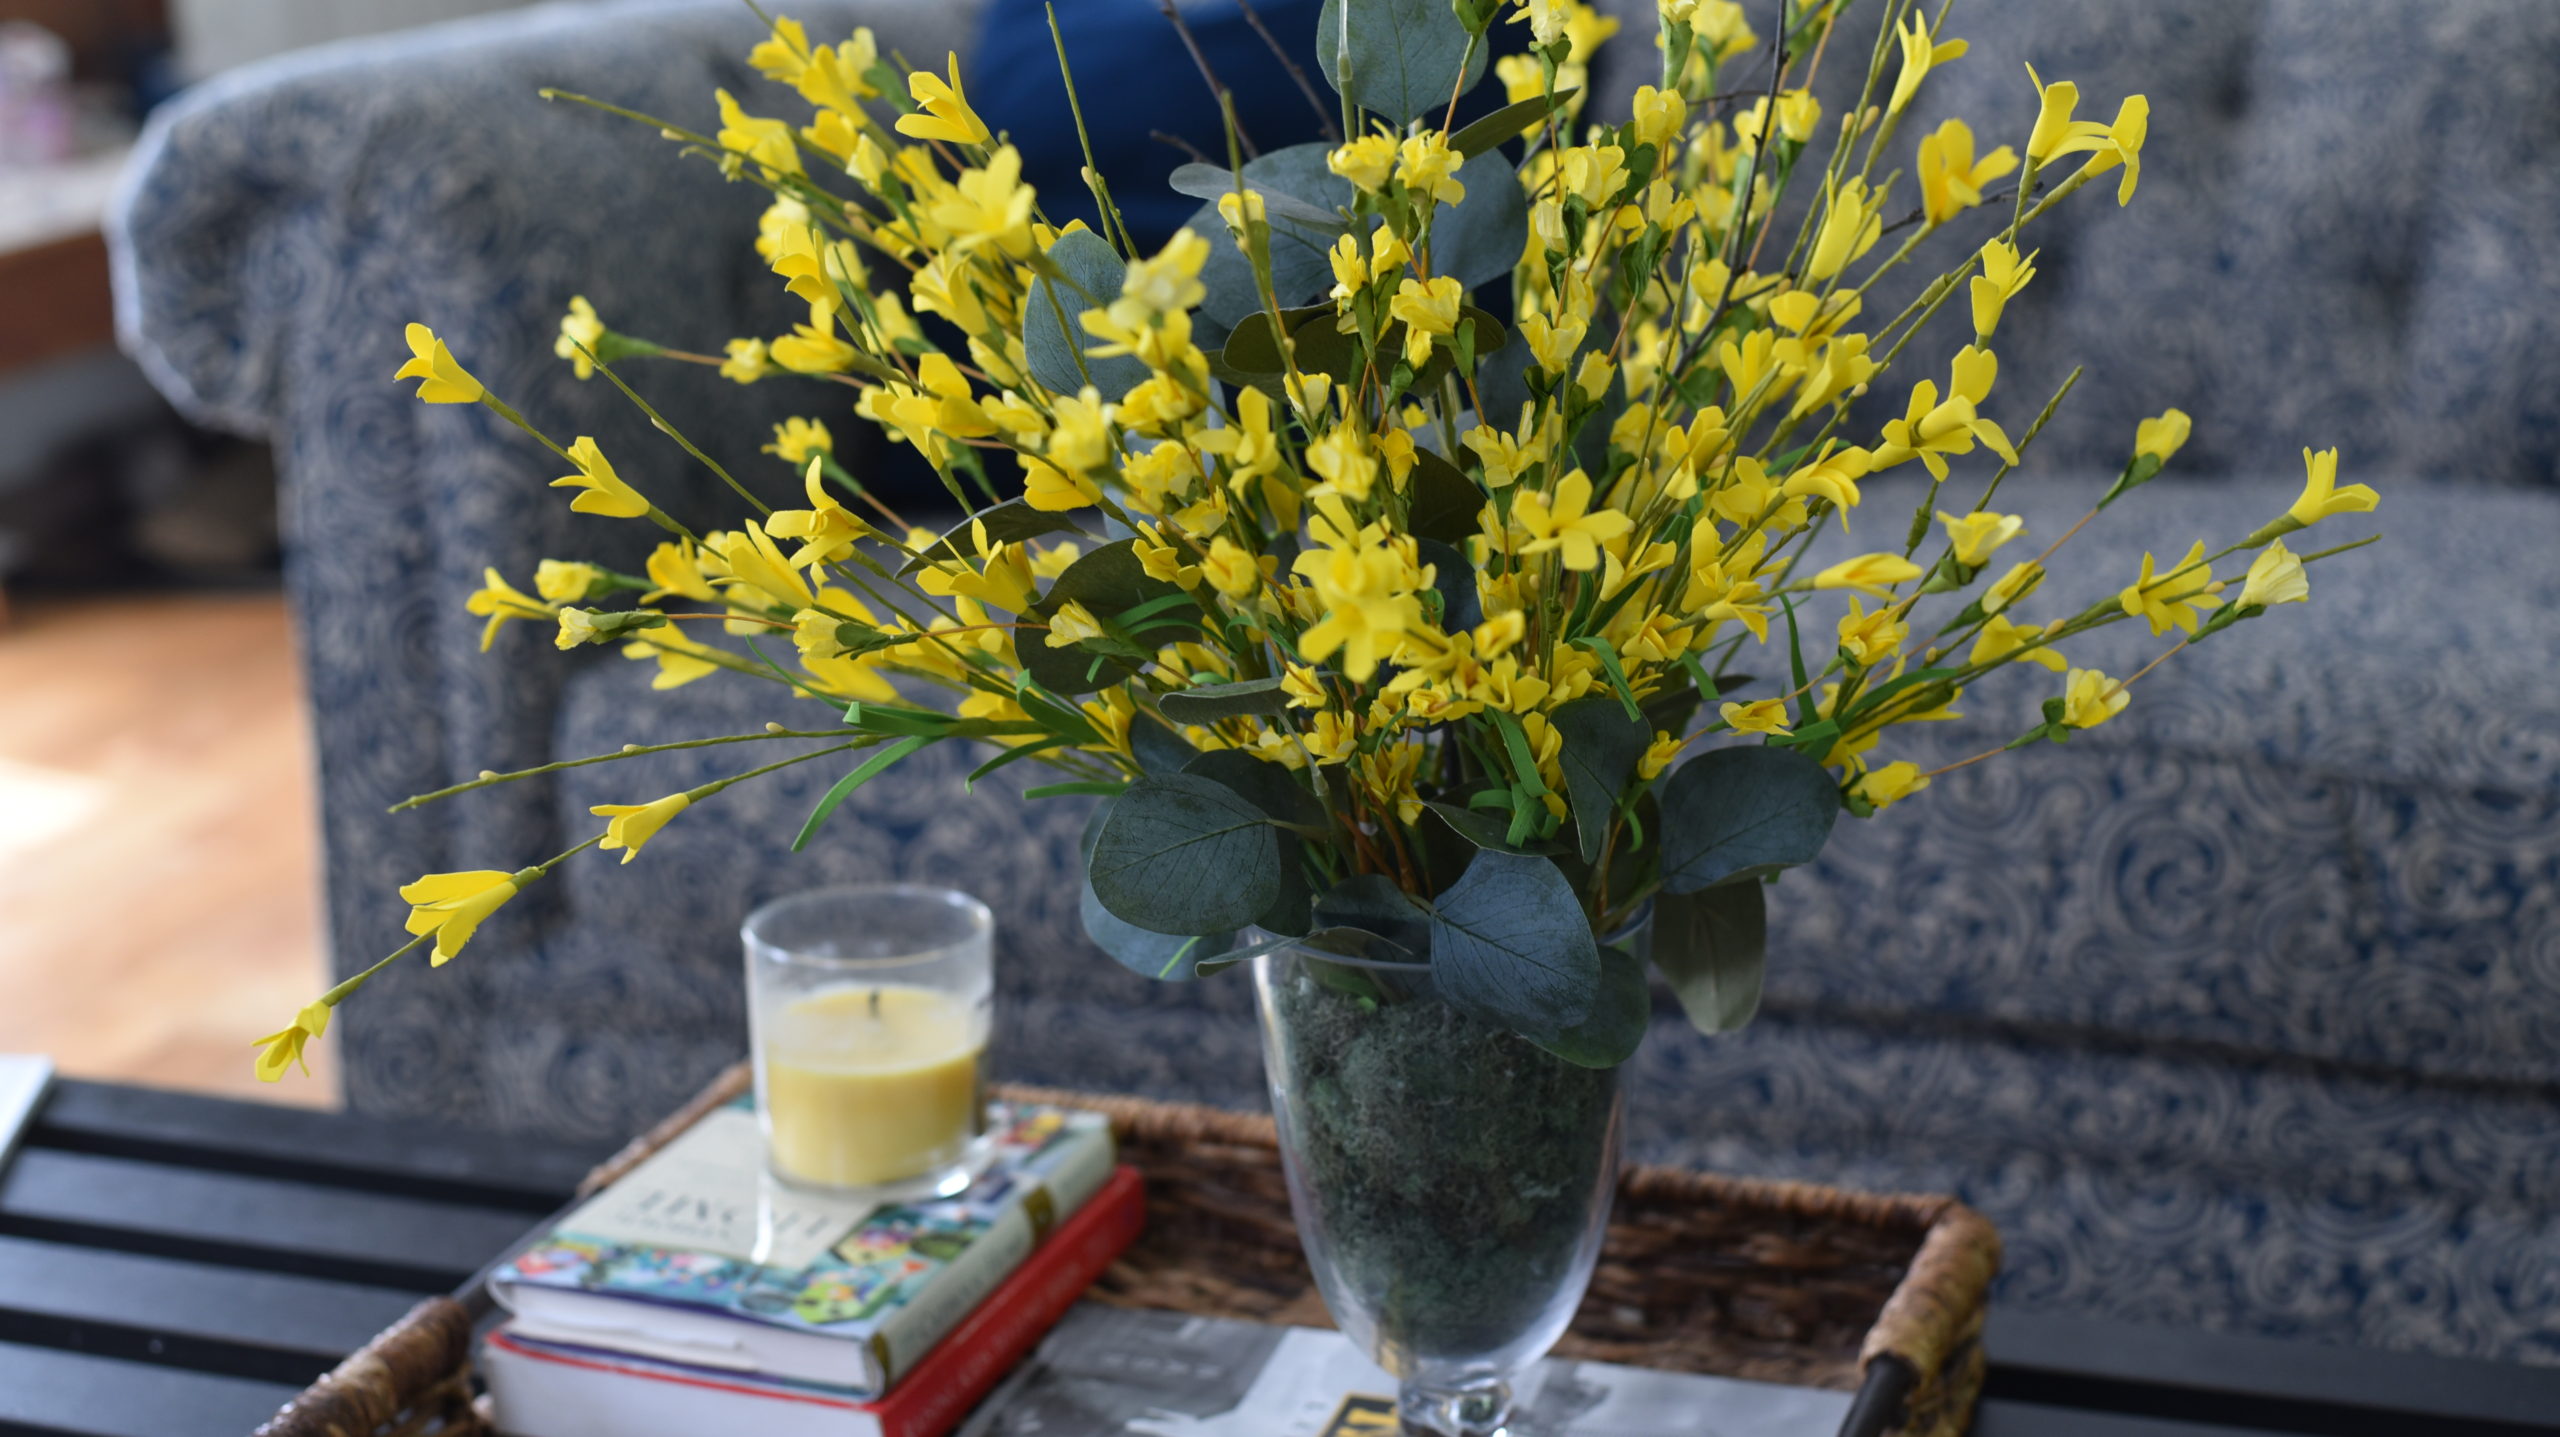
Scaninavian Style Art and Decor
- plants
- abstract geometric art
- abstract landscape art
- woven baskets
- clutter free
- sheepskin throws
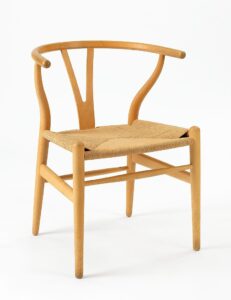
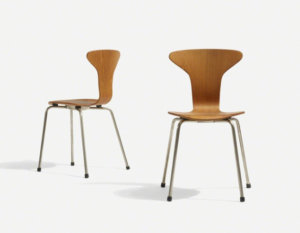
Scandinavian Style Iconic Furniture
- By Holger Ellgaard – Own work, CC BY-SA 3.0, https://commons.wikimedia.org/w/index.php?curid=2817356
- PH lamp
Scandinavian Style Iconic Furniture